OK y’all! I have tried so many sign making methods in the past few weeks, but this is by far, the easiest one I’ve tried.
I tried the wax-paper transfer method, but the printer kept eating the paper.
I tried stencils, but even with a stencil,my sloppy handwriting found a way outside the lines, and it ended up looking like bad fridge art . Yep, your 6 your old probably has better handwriting than me.
I was beyond frustrated, but one day, while at Target, inspiration struck!
The wooden block letters called to me, and I answered. Then I glued them sons o’ bitches to my sign and spray painted over them!

You don’t have to live in the South to appreciate these signs but I reckon it’d help if you did!
What you’ll need for the beer opener sign:
A wooden sign.You can make your own if you’re so inclined. I got mine at a craft store for $4.
Wood stain- shade of your choice-water based
Spray paint
Wooden block letters
Glue stick (liquid glue is pictured but I found the glue stick to work better)
Electric sander (optional)
Drill
Bottle opener kit ( I purchased mine at Home Depot for $4.99 and it came with the screws)
Stain your sign and let it dry
Mark where you want to place the bottle opener with pencil
Glue and apply your woodblock letters
Spray paint the whole sign and let dry
Remove the letters ( I use needle nose pliers)
Sand to distress (optional)
Drill holes according to instructions on bottle opener kit
Screw it!
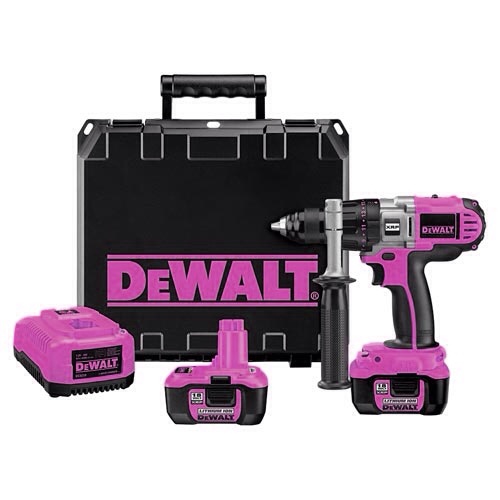
Y’all, I’m pleased as punch with how my bottle opener sign turned out, and I’m even happier that it gives me the excuse to buy that pink drill I’ve been eyeing! #HammersAndHeels


Reblogged this on kimboxin and commented:
A fun DIY tutorial from my other blog (for real this time!)
LikeLike
Very cute! You’re so creative. Love the take your top off!
LikeLiked by 1 person
Thanks, Marissa! They’re fun to make but they’d be a whole lot more fun to sell! Fingers crossed!
LikeLike
That’ll sell. 😃
LikeLiked by 1 person
Thank you! Lord knows we need the money after the home inspection and due diligence!
LikeLiked by 1 person
How’s all that goin’?
LikeLiked by 2 people
It’s good and we’ll get money back after closing, but things will be tight after paying our last month’s rent and all of that! I’m so superstitious about posting about it, so just act surprised when I post “We bought a house!” 😉
LikeLiked by 2 people
Hahaha! You got it! 😃
LikeLiked by 1 person
I love the signs, Kim!!
I hope you sell MANY of them! It’s a really great Christmas gift for guys! 🙂
Save a few bucks next time 🙂
http://www.ebay.com/itm/Vintage-Antique-Style-Bar-Pub-Beer-Soda-Top-Bottle-Opener-Wall-Mount-KG-/172227505972?hash=item28198f2f34:g:0nwAAOSwHoFXqvuM
LikeLiked by 1 person
Thanks Paola!!!! 😘
LikeLiked by 1 person
❤
LikeLike